

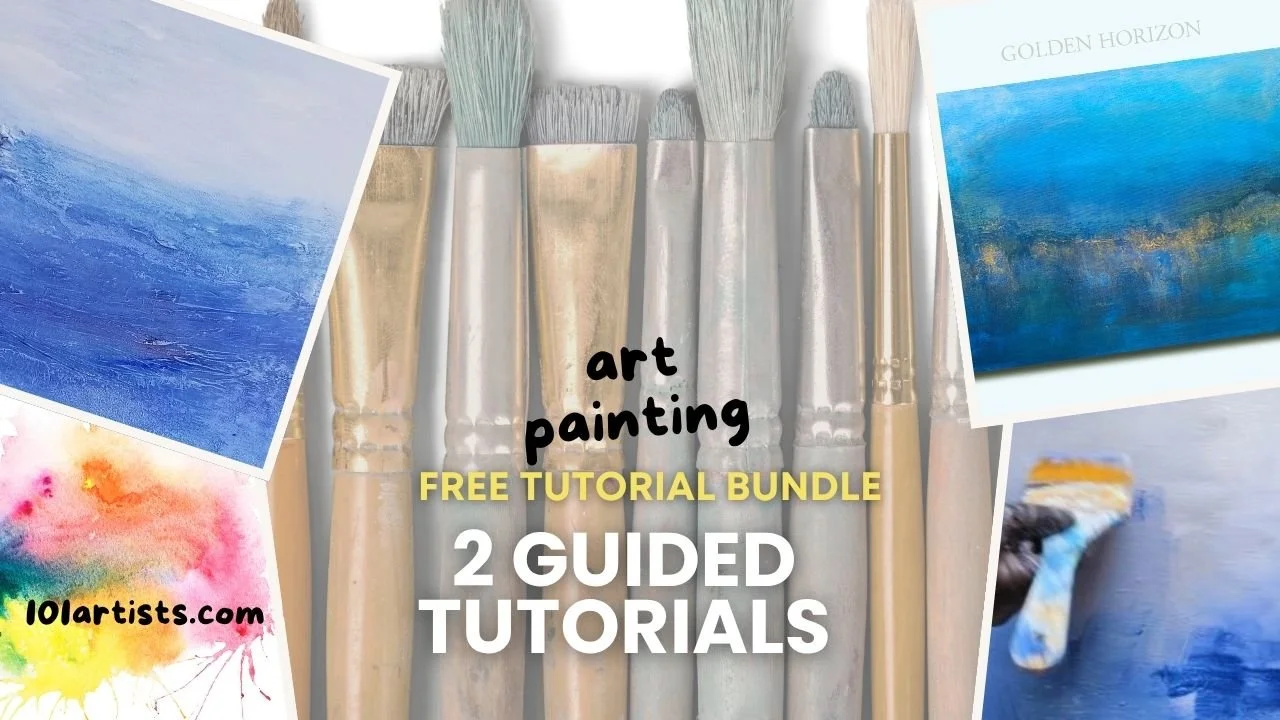
COMPREHENSIVE GUIDE TO LEARNING TO PAINT WITH ACRYLICS - LEARN SOME OF THE BEST PRO TIPS

EVERYTHING YOU NEED TO KNOW TO LEARN TO PAINT LIKE A PRO!
Acrylic painting techniques made easy – Step-by-step – Beginners acrylic painting
READY, SET, GO…WAIT! WHAT DO I DO?
For us creatives shopping for paints and supplies is like a kid in a candy store—all the colors, mediums, tools, options…opportunities! Let’s start buying and loading up our cart. I can’t wait to try it all!
Hold on, grasshopper.
It can get expensive (and fast) if you don’t really know what you’re doing and let yourself get carried away by all the options either in the aisles of the art store or online.
And what’s more…you don’t even need lot of it to get started creating gorgeous artwork.
I was there (and this was before blogs and Youtube), so it was very trial and error situation.
I did a lot of trials.
I made a lot of errors.
And I lived to tell the tale. Somehow I navigated my way to creating art that people will spend their hard-earned money to buy.
Let me help you a little. This post means to help you navigate what to purchase and invest in for your studio and toolkit before you go shopping. You can choose one or two techniques for the type of art you wish to create and know what it does before purchasing the entire store.
acrylic painting techniques for beginners

Make Acrylics Perform.On.
CommanD
Acrylic painting techniques for beginners —
Your personal cram course for getting the acrylics to perform.on.demand!
Read through this, watch a few of my videos (here are even more), join my CREATIVE TIPS GROUP (newsletter and FB group) and then I’ll send you a certificate on completion for being an ACRYLIC PAINTING MASTER!
No, not really.
But you will learn something and hopefully take it to your own little creative corner of the world and apply it with a newfound confidence!
We will cover:
Acrylic Paint - why it''s the #1 choice for so many artists
Basic painting techniques you can master
Brushes for acrylic painting - my favorites and what they do
Other tools you can use with acrylics
Mediums - basics and water - which acrylic painting mediums you should invest in
Awesome Acrylic Painting Techniques for Beginners
Why do I love acrylics?
Oh, let me count the ways:
1. Acrylics are super easy to manipulate. Depending upon the type of tool or medium you use, they can give you a variety of effects – Thick impastos, watercolor-like and washy, brushstrokes or smooth, splatters or controlled…the list goes on!
2. They are inexpensive. Sure, you can get top-of-the-line paints (and should have a few in your arsenal as you progress), but you can start with a nice “student” or basic set and get a myriad of colors, tones, hues. Even though I have numerous paints, I invested in this kit and it’s one I use often and recommend: BASICS by Liquitex Acrylic Paint Set
3. You can use so many tools with them-I often use non-traditional tools to get interesting effects
4. Easy to clean – acrylics are water-based (unlike oils with of course, are oil-based) and they can be easily cleaned with water and little soap, like this one that is made to get the paint out of your brushes easily
5. They dry quickly – This can be a double-edged sword as acrylics that dry quickly can prevent you from getting good blending or moving colors (like with oils), however, they dry quickly and can give you layers to work with allowing you to create beautiful transparencies (like watercolors) or a finished artwork within a short period of time.
6. They have numerous mediums available that they can be paired with to create outstanding effects. Mediums are another post (and topic) altogether. We’ll cover a few of the basics here, but it will only touch on the most popular.
7. Popularity of acrylics means there are a growing number of types: Soft body, heavy body, fluid, hi-glow, pourable…the list keeps growing as paint manufacturers continue to pay attention to their increased demand for more options.
ACRYLIC PAINTING TECHNIQUES TO GET YOU STARTED
Washes
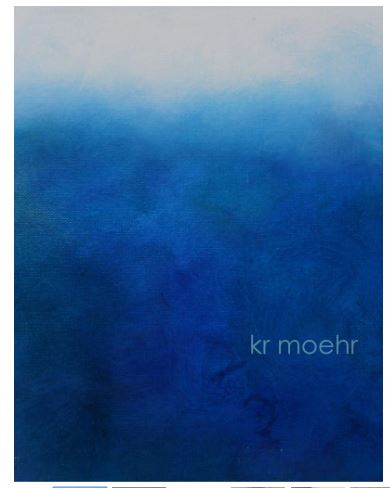
Watercolor Day - washed acrylic painting
One of my personal favorites for creating softer abstracts (which I often create) is to use a little more water and a medium to get a watercolor effect with my acrylics.
Using water (a little) with a medium gives beautiful transparencies and can allow you to layer color for a see-through effect.
Unlike watercolor, the acrylic layers will set permanently so no worry of water spots of accidental drips on your painting once the paint has fully cured.
Example of a "washed/blended painting" above (click here to see more)
Doing a wash for a watercolor-effect
Pointillism/Stippling
The masterpiece (in the park?) by Georges Seurat is a famous example on a large scale. You can do this on your artwork by using a tiny brush (the more pointed and stiff, the better) and by creating a mass of tiny dots to create a shape or texture.
Drybrushing

BOLD STROKES Painting - Dry brush technique
Intense color on paper
Plop some paint on your canvas and use a brush without any medium or water and you have a “drybrush” technique. This will result in creating an intense color on your canvas. This technique can give you bold strokes for eye-popping abstracts.
Splatter Painting
Bring out your inner Pollack with the free-form abstract splatters. No need for various tools; just a brush, canvas and paint will get the job done.
By using a wet mix of color (acrylics and water and/or medium), you can flick or splatter paint onto a canvas in layers of colors and intensities. While it can be used as an all-over painting technique, you can also use carefully positioned splatters for interesting effects on just certain areas of your painting.
Sponge or Rag Painting
Using a sponge or rag (or even just a piece of paper towel dipped in paint), you can develop a unique technique surface with acrylics. I often will use a sponge to cover large areas on my bigger canvases and then use brushes and other tool to develop color on top.
You can use a sponge the other way around, too. By painting your canvas, you can apply unique paint layers on top with a sponge or fabric/rags.
Dabbing color onto your canvas can be easily accomplished with the corner or a sponge or rag. Sometimes it’s the best tool and can only do what no other can for you.
Palette Knife
Working with a palette knife and acrylic paints to create a soft abstract landscape.
Oh, the lovely palette knife! I adore working with it and so do many other artists. You can get effects no brush can give you and lay on paint in some serious impasto mode!
I love a knife to apply my texture mediums prior to paint.
It’s easy and I often liken it to frosting cupcakes since it’s essentially the same technique. Beginner friendly!
Although it’s not as easy to really control painting with a palette knife, it’s deceptively complex to get the right look if you are working on realism or need controlled lines. This takes practice, but it’s really a fun way to paint.
Add heavy gel or modeling paste mediums to your paint and then working with a palette knife can help you build amazing textures and impastos on your artwork.
You can cover a full canvas with washes of color and then apply a significant (or even just touches) of impasto with a palette knife to get an instantly eye-catching artwork.
HOW TO BUILD YOUR PAINTING FROM THE GROUND UP
One difference between a master/accomplished artist and a beginner?
Layers.
Quite simply, beginner artists (I was one, too) will try to apply all their paint to get a finished artwork fast.
The skilled and experience artist will work in layers, creating a ground and then “building” their artwork.
The fastest and easiest way to create more sophisticated artworks is to understand the value of layering and building, not only colors, but techniques.
BUILDING A BACKGROUND
Developing these skills and the patience required to do them properly, is what will take your work from amateur to professional. Even you never plan to sell or offer your artwork to the world, it will take on a new level of interest and will something you can be proud of.
PROFESSIONAL LEVEL TECHNIQUES FOR ACRYLIC PAINTING
UNDERPAINTING
You will often hear pro artists talking about the “underpainting.”
This can be easily done by the beginner by starting your painting with a sketch so you can understand perspective before you lay down your paint.
By this I mean, let’s say you choose to do a landscape.
First, where is your horizon line? Will it be straight across the middle of the canvas or ¾ of the way down?
Will you create a simple straight horizon or one with hills and valleys?
Will you choose to include clouds or light in the sky?
Where will that be and how large will that scale?
As you can see, once you start to ask yourself these questions you can understand the value of an underpainting and laying the framework so everything looks like it does in your mind (or as close as possible).

I use these – watercolor pencils - I find they work really well
I have a set of watercolor pencils that I use to sketch my basic idea onto the canvas. I like these because being watercolor, they will wash away if necessary and are easy to paint over. I will often use a coordinating color to what I’ll be using in my palette. For example, if I know I’ll be using greens, I’ll use a green watercolor pencil that will wash away or blend perfectly.
TROUBLE LOADING FULL POST? CLICK HERE FOR REMAINING POST
(Or read on below...)
GLAZING
I could talk for hours about glazing…it’s one of my absolute favorite mediums and a necessity to my artwork. Some artists may never use it, but I find it has a number of different uses.
If you have seen any of my tutorials, you know I almost always have some glaze involved.
Why?
Because it allows me to control the intensity of colors; it allows me to build transparencies; it gives me beautiful finishes.

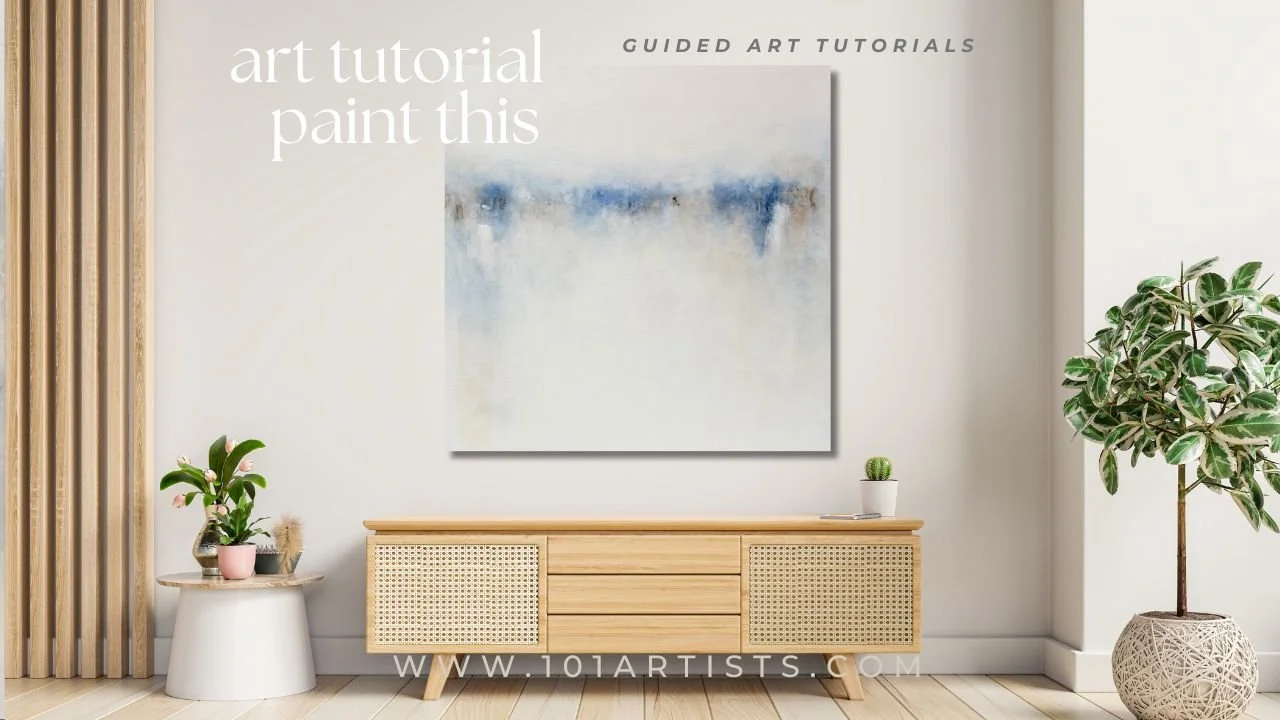
WASHED LANDSCAPE - See more photos of this artwork
Step-by-Step Tutorial for Creating this Artwork www.101artists.com
Here is an example of layered acrylic large-scale abstract landscape - WASHED LANDSCAPE
LAYERING
This is one area where glaze is key but it can be done without that medium.
Layering is just what it says: Application of paint layer over layer, building from the ground up.
This is often done by painting large washes or blocks of color, and then adding more detail/refinement as you add layers.
COLOR MIXING
Mixing colors can be easy once you understand the basics of color theory.
For example:
Mixing a blue/green with a green or yellow will give you a more intensified and unique base color.
Mixing that same blue/green with an opposite color, like orange or cool red, will create a new tone entirely, perhaps even muddy the color.
This is why artists will often use a palette or some other surface/bowl/plate to mix colors before applying them to canvas. Until they sure what the result will be, any experimentation takes place off the canvas!
UPSCALE ART TUTORIALS - SELF-GUIDED CLASSES

Tri-Color Mixing
Let’s say you want a painting with lovely water tones of blues, greens, light and depth.
You can achieve this by mixing two colors, a little white and/or black or grey.
You can complete full paintings with a careful blend of just these tones and be certain they complement each other.
Where some artists get into trouble is that they think “The more the better!” and end up with a dizzying array of colors on one canvas.
Sometimes with abstract it’s intentional, but often if doing a landscape or non-abstract, the blending of similar colors/tones is how the painting looks more realistic and appealing to the eye. Even abstracts can benefit from using only a few colors, with maybe an accent color, vs. too many colors in one artwork.
CHOOSE YOUR FAMILY
Before painting, choose a family of colors or tones. Will it be a cool-toned painting of cool blues, purple, fuschia, grey…? Will it be a warm-toned blue/green, turquoise/teal, yellow…?
Portraitists create lifelike skin tones by developing varieties of pinks (from nearly pale white to deep, warm browns), and will have them pre-mixed before painting.
The same can be true of an abstract artist. Know what you’re painting with before you even pick up the brush! This can help off-set a number of “oops” or muddy-toned moments during the process.
BRUSHES
I’m going to talk about brushes – there are so many that it could easily overwhelm you, so I’m going to cover only the ones I use most and tell you what they will do for you.
I work with abstracts-often large-scale-so keep that in mind as you read through this. You may be working realism or with a more defined style, so your brushes may veer more toward smaller or more pointed versions.
I will cover the basics so you can get a good idea of brushes for acrylic painting
Flat brush
Love my flat brushes! They give a large wash of color, cover a lot of surface quickly and can apply smooth or scrummed effects.
I have flat brushes in many sizes from small to very large. My favorites are these el cheapo brushes you can get in a multi-pack (and they last pretty long!). These are my favorite brushes or these that I use often. You'll be surprised at how cheap they are and how long they last!
Mops and blenders
Need to blend colors? A mop brush or a blender will work well for you. A couple of caveats with working with blending acrylics with a mop: Mops are generally smaller (usually used with watercolors, but I like them, too) and they get wet quickly.
Blending will not work well when your brushes get too wet; at this point they just move paint around. So, you’ll need several mops on-hand if you’re going to do large-scale blending, like this painting (LAND ISLE)

Example of a blended painting
Colors blend and bleed into each other creating a seamless look.
For large-scale blending I often use a utility brush (I get them at the hardware store).
Utility brush
These will work well for large-scale blending and don’t absorb water as quickly so they work longer. Go to the paint section and get something with fairly scrubby bristle (not too soft) for the best blending potential.
Mottlers
Mottlers are wonderful flat brushes and will give you a lovely finial finish with glazes or varnishes. They will also give you a super smooth coat of paint if you want a sleek, untextured look (no brush strokes). Have a good-quality Mottler on-hand. These are what I use and recommend, but there are various brands: My favorite mottler brush is this one
Craft Brushes
Craft brushes are handy for stippling, adding stenciled effects and when you don’t need a super smooth finish. You can get a stencil brush, a flat brush, a sponge applicator, etc.
Great for giving you some swirl in your artwork! Here is one I have on-hand. Using this shaped brush will give you another effect vs. flat brushes. It softens the edges of your strokes.
TOOLS
Other tools I often use:
Bamboo skewers – I always have some of these in my studio. They are wonderful for poking into hardened tops of acrylic paint bottle/tubes!
Plastic forks, knives, spoons – great for mixing and creating some unique textures and effects!
Cake decorating palette knife – I like this because it’s the perfect size, has no pointed edge and gives me a nice, flat application of paints or texture mediums. This is one I use and love- cake decorating palette knife (see how flat and smooth they are?)
Palettes and mixing bowls
I use a variety of palettes and mixing bowls, but most often I get the dollar store paper plates (coated plates work best – uncoated and the paint seeps into the paper – but not Styrofoam!)
I also use plastic containers, like yogurt containers that have a plastic lid. Just run them through the dishwasher and take them to my studio. I can mix custom colors, keep them usable for days with the lids and them toss them. Recycling at its most useful.
Mister bottles
I really like the fine mist of this plant sprayer
An essential part of your acrylic art studio kit! Every artist I know has a good mister or several that they use at various points. Working with acrylics requires you use a bit of water now and then to keep your paint dry and workable. While you don’t want to add too much water (see why in the next session), you do want a light mist of water to keep the pigments hydrated.
I often mist my canvas before I start working and then a little during the process, but caution: NEVER mist semi-dry or tacky paint. Once your acrylics have started to dry, a mist will only eat through them and start to remove the paint leaving you with water spots, drops or worse.
Adding water during the painting process is better done by adding it to your brush in small doses vs. misting the canvas. You can, however, mist your palette pretty well and keep the paints hydrated which prevents the need to mist your canvas!
Water and Acrylics – Do’s and Don’ts
I often hear this from beginning artists:
Do I need mediums? Can’t I just add water?
Yes and no.
It’s essential your painting to use a little water with your acrylics. Even if you use mediums, you can add a little water to help thin out paints and help them flow onto your canvas more smoothly.
However – caution!
DO NOT use too much water with acrylics.
Overdoing it will only break down the pigments and leave a very dry and dusty-looking painting.
Don’t believe me? Go ahead and wet the heck out of your paints and then create something, let it dry and check it tomorrow.
Yuck, right?
A little water helps; a lot of water destroys. It literally makes your paint separate and dry out.
This is the reason the acrylic manufacturers have created so many mediums. Just take a look at Golden and all the flow and fluid mediums they offer. The array is dizzying!
Here are a few tips and the basics of mediums, what I use and what I recommend you start with. You can always grow from here!
MEDIUMS
Glazes:
Glazing – my go-to for mixing my acrylics is often glazing mediums in either satin or gloss
Try my “custom blend” of acrylic glazes:
-2/3 satin
-1/3 gloss
-add a few tablespoons of water
Mix well.
I keep this mix in a sealable plastic tub and use it daily!
These are what I use:
Retarders:
This helps “retard” the drying time so your acrylics stay workable longer. Add a little of this to your canvas or paint mix. Try it
Fluid Extenders:
Just what the name says – they extend the fluidity of your acrylics. If you are working with soft body paints, add a little of this, mix well and turn them into a more fluid component. Add this with a little water to your paints and create nice fluid acrylics for washes and thin layers.
This is a "flow release" medium I like: Acrylic FlowAid
As far as mediums, there are many, many more, but these are my best “beginner” options.

Example of a layered, glazed painting

GLAZED PAINTING - FORTUITOUS
Layered painting created with a series of glazes
Heavy Gel / Modeling Paste
I do a lot of textured abstracts and this is my go-to for building nice, peaky textures. They can be used interchangeably, however they are different. The difference between the two is that the gels are usually a somewhat flexible texture when dried and the pastes are not.
Why do you care?
HEAVY GEL
If you are doing a very heavy texture and/or working on raw canvas (unstretched) or plan to roll the canvas at any point (to ship it or store it), you absolutely want to work with a gel that has some flexibility when dried. This also dries semi-clear with just a touch of sheen. You can use a gloss gel if you want more shine. Here is my favorite: heavy gel medium by Golden
PASTE
If you are working with lighter texture on a rigid/stretched surface, go ahead and use the paste. This will give a dry, chalky finish you want paint over. Be aware that using this in heavy applications or trying to fold or stretch the canvas will result in cracks in the dried texture.
I often like the cracks in dried paste and work it into the painting, however you don’t want cracked texture at all, go for the more flexible gels.
My favorite textures mediums:
Modeling Paste or Molding Paste
Example of textured artwork with these:

Learn to paint this textured artwork
Now, get creative!
Once you understand each of these basics, you’ll be able to use them with confidence to create more and more upscale paintings.
For example, start with a wash technique. Build a few colors (letting each layer dry completely before adding layers). Then do a little dabbing or stippling. Add some splashes of splatter and then some highlight of texture with a thick impasto from your palette knife.
Voila! A unique creation all from your own two hands.
Have fun!
Want even more?
Learn to paint some of the paintings shown above - www.101artists.com
Join my CREATIVE PRO TIPS for more painting tips, discounts on my full tutorials and more
CLICK HERE TO JOIN NOW (it's free!)
Last note:
When done painting, be sure to clean your brushes really well! This is my go-to brush soap to be sure all the paint is removed (especially from my good brushes, like my Mottlers)

About me…
Visit my
MY GALLERY SHOP
*This post contains affiliate links, links to my own training/tutorials and other goodies!